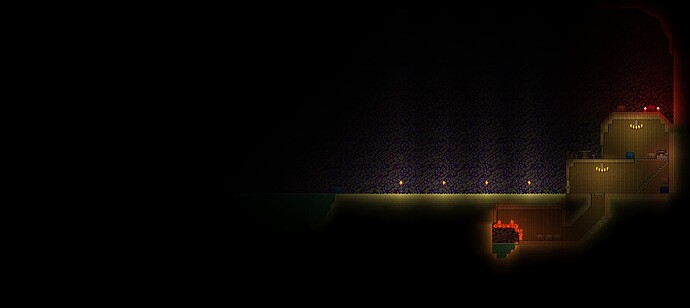
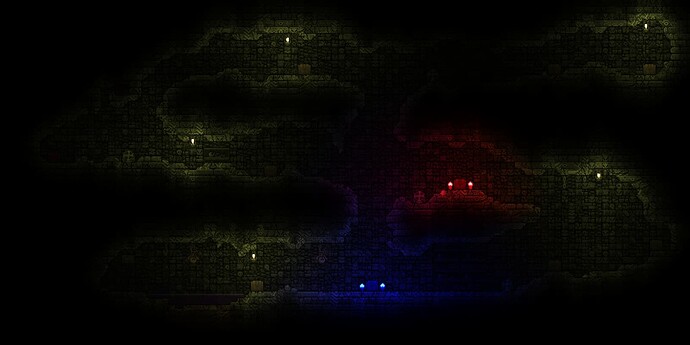
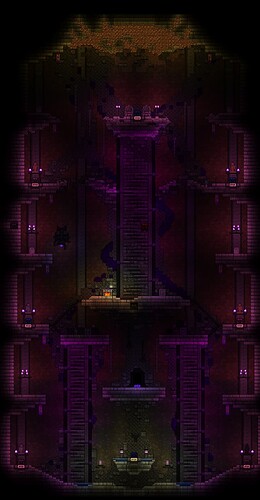
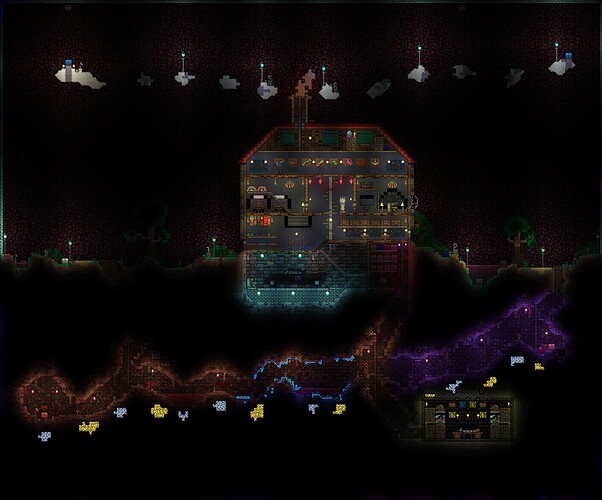
This post is a wiki, anyone can edit it. Please correct any mistakes or missing content.
The base class for all maps include an Angler Vest and Angler Pants for armor. Look at the table of contents for a list of maps minus references and the How do I change to a map section.
How do I change to a map?
If you’re in a public/private lobby, you can vote for a map via /vote <map name>. For example /vote Beach House. Every player who joins has a default random vote, so just you voting does NOT guarantee the map.
Default votes are as follows:
Default votes rotate every 4 days, with new maps having a chance anyday for around a month after release.
Some maps are only available when voted for, due to difficulty or age, and as such, will not be auto selected by the system. These maps are highlighted in Yellow.
In a custom lobby, you can use /map select "<map name>".
Beach House
Beach House
This map is a one-dimensional adaptation of Hill House. It’s intentionally a simpler map than most and is a good map for people new to zombies to play.
Classes
There are two classes on this map. Both are good picks, and the house at the spawn is perfect for camping
Robert
Where: next to spawn
Starts with:
- Iron Shortsword
- Flintlock Pistol
- 50 High Velocity Bullets
- 20 Silver Bullets
Ben
Where: in the ocean
Starts with:
- Silver Shortsword
- Handgun
- 50 High Velocity Bullets
- 20 Silver Bullets
From within the house players can access:
- 3 types of bullets (High Velocity Bullets, Meteor Shot, and Explosive Bullets)
- An accessory chest (Bee Cloak for Robert, Flesh Knuckles for Ben)
- Two weapon chests, (Handgun/Boomstick for Robert/Ben respectively, and Minishark for both)
- and an HP chest
By venturing out, the second class (Ben) can be found, as well as explosive weapons (Stynger for Robert, Grenade Launcher for Ben).
Sentry tip: Placing sentries in the Beach House for which the map is named, you’ll be able to farm lots of points quickly, easily, and safely.
Notable Challenges
There are no armor chests, so your only protection will come from buying HP in quantities that would be excessive on other maps.
There are no anti-knockback shields either, so Shamans might get separated, and death in the later rounds would be swiftly upon players. This can be particularly difficult when the Sand Elementals spawn.
Skelotens
Skelotens
The map name has an intentional misspelling by its creators.
This map is excellent for casual, veteran, and new player playstyles alike, despite how hard it may seem due to how cramped it is.
Classes
Two classes (Warrior and Mage) are present, both of which can attain knockback - nullifying Shield accessories, but if playing/queuing alone, organized with the intention of getting far, or just carrying a group of noob players, Warrior is highly superior to Mage on this map.
Warrior
Where: next to spawn
Starts with:
- Spear
Mage
Where: next to spawn
Starts with:
- Wand of Sparking
Strategies
The small room left of the class selection chests contains one of the enemy spawnpoints as well as a weapon buy chest. Camping in there is especially easy with Warrior by simply killing any enemies that spawn in the room with fast, high piercing capability weapons such as the starting Spear, or spammy weapons such as the upgrade in the form of the Chain Knife. In particular, however, the kill room has a weapon chest where you can purchase Arkhalis after first buying Ice Blade, which is one of, if not the best weapons on the map (and in the entire gamemode) for farming and holding off enemies, most notably from round 7 to round 16. Mage has to rely on having mana to fight, so they’re not as potentially strong as Warrior is (since Warrior can always attack and Mage has no space to dodge), making the former generally rely on having teammates around in order to survive. Furthermore, the hidden chest in the bottom right of the map contains Seedler when playing as Warrior, an excellent killing weapon that can take care of killing enemies until Warriors can get Solar Eruption from the middle weapon buy chest.
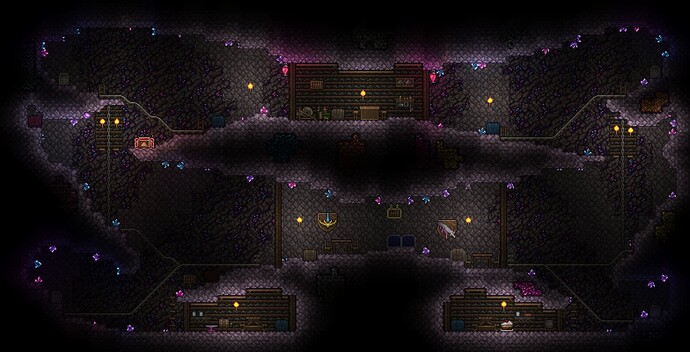
Catacombs
Catacombs
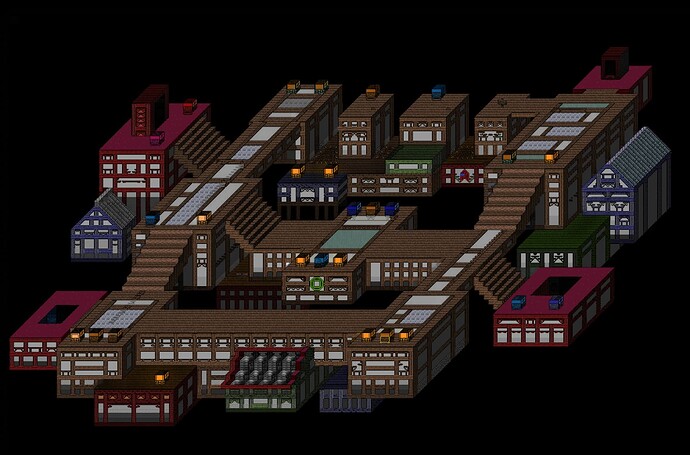
This is a map that is three levels of horizontal corridors snaking back and forth, all connected by a fall down the middle. There are two classes, and both have their ups and downs; Mage is somewhat weak on its own due to mana usage (especially at the start of a game), and Summoner has to rely on its summons for their primary source of damage.
Classes
Mage
Where: next to spawn
Starts with:
- Wand of Sparking
Summoner
Where: next to spawn, hidden in the water
Starts with:
- Hornet Staff
- Leather Whip
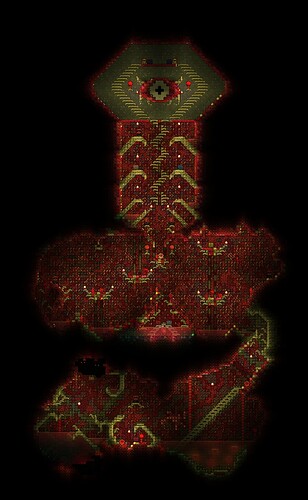
Shadow’s Descent
Shadow's Descent
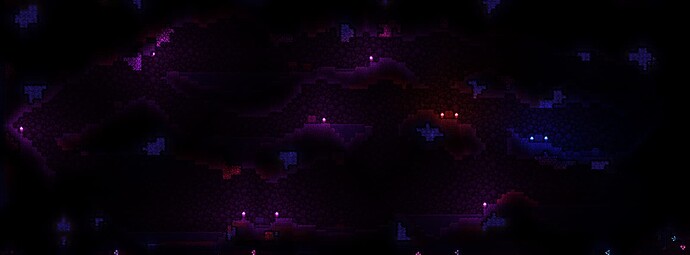
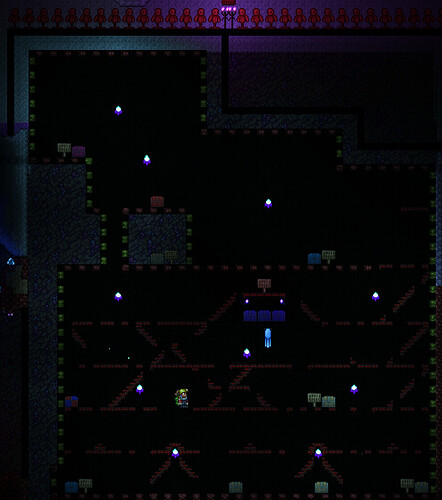
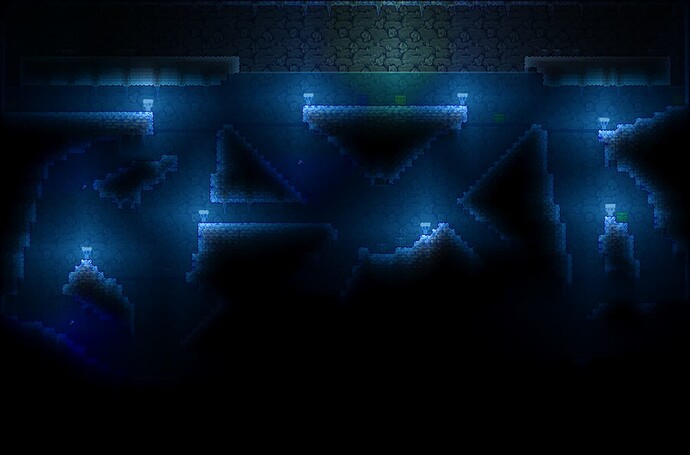
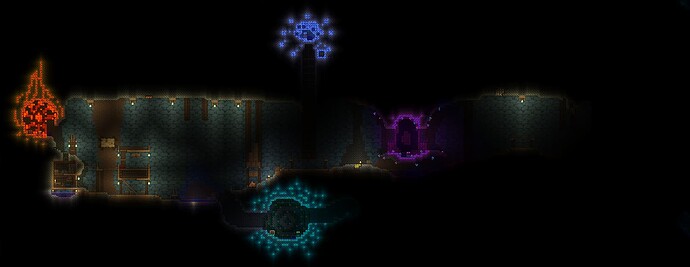
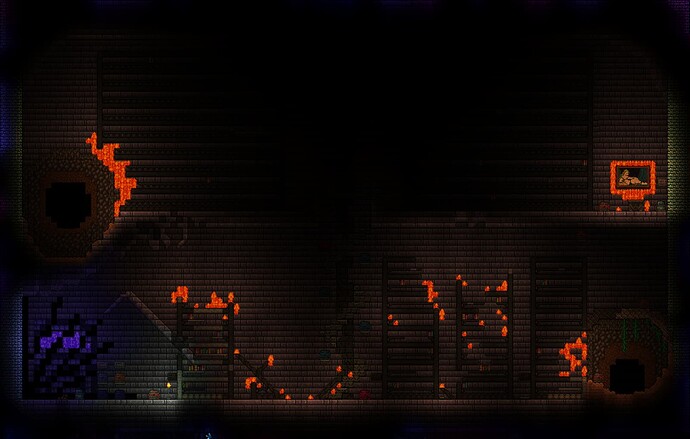
This map is a challenge map with a gimmick. Every traversable area of the map has no light whatsoever, and almost every surface and wall is painted seamlessly with Shadow Paint, making it nearly impossible to see what’s solid ground, what’s a platform, and what’s a hole in the floor.
To defeat the gimmick, you must know the layout of the map, and where the holes are.
Unlocks
This map unlocks the Wish ability when you complete Round 15.
Classes
Light Spirit
Where: next to spawn
Starts with:
- Mining Helmet
- Sapphire Staff
- Torch
Shadow Spirit
Where: next to spawn
Starts with:
- Shadowood Armor
- Shadowood Sword
Notable Challenges
Other than the darkness, the map has holes at the bottom walkway which lead to lava. One wrong move and you will end up in an unrevivable location. You can counter this by using one of Time Warp, Telekinesis or Coward.
Shadow Requiem
Shadow Requiem
There’s a chest with a grappling hook, Ankh Shield, and Bundle of Balloons, allowing for fantastic mobility and survivability. There is also a chest where you can buy guns. Silver Bullets purchased on this map imitate Shadowflame Hex Doll projectiles (purple tentacle - like flames that have low damage and decent piercing), and Meteor Shot purchased on this map imitate the Clothier’s weapon that he uses to defend himself (a Shadowflame Book of Skulls). With the damage upgrades attainable with the guns, they should serve as your go - to weaponry in the later rounds over the bows and spears.
Classes
Shadow Lord
Where: next to spawn
Starts with:
- Modified Spear
- lower knockback
Necromancer
Where: Under spawn (only accessible during round 1, as you’ll need to select Shadow Lord first)
Starts with:
- Crimson Rod
Dark Shadows
Dark Shadows
Classes
Ventured Miner
Where: in the water pool next to spawn
Starts with:
- Iron Pickaxe
Has access to pickaxe upgrades as well as a variety of swords and armors to aid in tanking damage while slaying enemies
Wraith
Where: in the water pool next to spawn
Starts with:
- Wand of Sparking
Relies on several different piercing spells to control a crowd, and ultimately heal all players on the team, and is best with other players, especially Ventured Miners, as Wraiths are quite fragile due to lower defense armors.
The Ascension
The Ascension
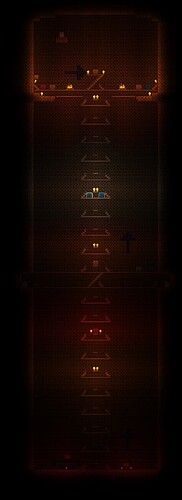
This map is a challenge map and its gimmick is that it is based around being very vertical.
Classes
Mr. Agile
Where: next to spawn, on the left
Starts with:
- Copper Shortsword
This class has overall good survivability and with its accessories, ends up being able to move around quickly. It uses bows and guns as the primary weapons.
Warrior - (is this name right?)
Where: next to spawn, on the left
Starts with:
- Copper Shortsword
Crystal Caverns
Crystal Caverns
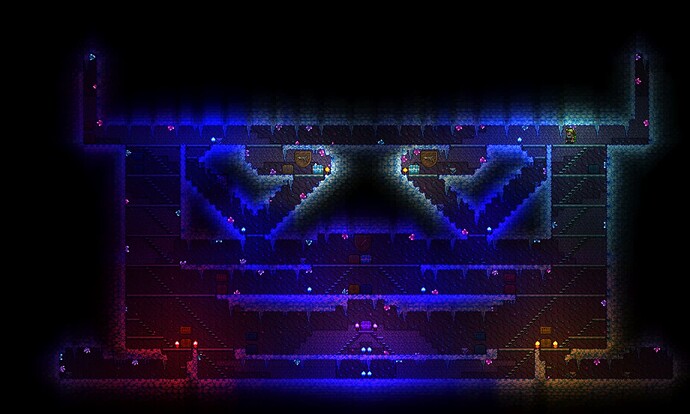
This is the third zombies map ever created. As an early map design, it is very cramped vertically. The minor gimmick of this map is the use of ice. This map becomes much more difficult as the rounds go on due to its design and reliance on the Magic Box.
Classes
Ice Breaker
Where: next to spawn
Starts with:
- Iron Shortsword
- Flintlock Pistol
- 70 High Velocity Bullets
- 20 Meteor Shot
- 10 Explosive Bullets
Winter’s Scream
Winter's Scream
Another early zombies map, though this one focuses on having a very high ceiling.
Three classes are available on this map. Warrior is better earlier on, but for lasting a long time, Sorcerer and Huntsman are the superior classes. Warrior can get a yoyo early on (much better than the shortsword) to help fend off enemies, and although Huntsman relies exclusively on having enough ammo, the Dart Rifle and Cursed Darts attainable in the dark below are powerful enough to make up for it, as the Cursed Darts rain fire upon shooting with the Rifle, and the darts themselves are very powerful, enabling the ability to make quick work of the Hardmode flying enemies that start spawning in the rounds you typically attain it. Having a mix of all classes is the healthiest solution.
Classes
Warrior
Where: next to spawn
Starts with:
- Copper Shortsword
Huntsman
Where: next to spawn
Starts with:
- Modified Wooden Bow
- Snail use speed
- Fires 7 arrows per click
Sorcerer
Where: below spawn
Starts with:
- Modified Sapphire Staff
- Fires 7 spheres per click
Death House
Death House
This is a fairly difficult map. There’s a lot of platforms to navigate, but the enemies are surprisingly good at following their targets down through platforms. Furthermore, since they can ascend the platforms faster than players, none of the four classes are particularly viable if one is playing alone.
Classes
Consume
Where: in the middle of the map
Starts with:
- 150 Shurikens
Pets
Where: Painted with shadow paint in the lower-middle
Starts with:
- Hornet Staff
Tank
Where: in the middle of the map
Starts with:
- Silver Shortsword
Mage
Where: in the middle of the map
Starts with:
- Wand of Sparking
Cyber Complex
Cyber Complex
Classes
Hunter
Where: next to spawn
Starts with:
- Gold Shortsword
- Steampunk Hat
This class starts with a Gold Shortsword and gains access to a few different flails, but more importantly a custom Clentaminator. This Clentaminator is capable of using a couple of different ammunitions, such as Darts and Rockets. The Rocket I’s are most powerful, firing a short - range Electrosphere that kills fairly quickly, and the Clentaminator itself can be upgraded for extra fire rate and damage from the same buy chest, enabling quick and powerful crowd control.
Cyborg
Where: on the second floor above the spawn
Starts with:
- Red Phaseblade
- Cyborg Helmet
This class has access to a variety of ranged melee weapons as well as a custom Bone Glove that allows the use of bullets to be thrown.
Devil’s Reservoir
Devil's Reservoir
This is a challenge map. It’s gimmick is that for the most part, you will be playing underwater.
Classes
Diver
Where: next to spawn
Starts with:
- Modified Tempest Staff
- Low Damage
- 2 Summoning Potions
- Breathing Reed
The Tempest Staff is meant to only last until it can be supplemented by the use of guns (below the spawn) and spears (bottom left corner). All bullets act as Sharknado projectiles, which means they are affected by gravity (unlike normal bullets).
To defeat the gimmick of this map you just need to get some of the breathing accessories and remember not to drown. With these upgrades you can stay underwater for a long time, and there are some holes to breath in using the breathing reed underwater.
Hill House
Hill House
Classes
Gun Slinger
Where: next to spawn
Starts with:
- Flintlock Pistol
- High Velocity Bullets
Mighty Mage
Where: next to spawn
Starts with:
- Wand of Sparking
Cosmic Collapse
Cosmic Collapse
The gimmick of this map is the low gravity.
. Both Trooper and Raider classes start with an upgradeable grappling hook, and both classes have attacks that are capable of piercing walls in some ways. As a whole, this takes the “hard, but fun” map design to the extreme. Do not expect an easy slaughter fest if this map is the map you are playing on.
Classes
Trooper
Where: next to spawn
Starts with:
- Wand of Sparking
- Grappling hook
- HiTek Sunglasses
Raider
Where: next to spawn
Starts with:
- Flintlock Pistol
- High Velocity Bullets
- Grappling hook
- SWAT Helmet
Mutant
Where: in the cave to the left
Starts with:
- Spear
Monster Mansion
Monster Mansion
The second zombies map to exist. While not exactly as it was. it retains the features of early zombies map design and as such it is a mildly cramped and dark map.
Classes
Summoner
Where: next to spawn
Starts with:
- Hornet Staff
Master Mage
Where: below spawn at the bottom of the map
Starts with:
- Modified Wand of Sparking
- Extremely slow speed use time
- Fires 3 Wand of Sparking projectiles per cast.
Miner’s Deceit
Miner's Deceit
Mostly cramped and somewhat dark map.
Classes
Miner
Where: next to spawn
Starts with:
- Gold Pickaxe
The spear does no knockback but is good for racking up points. The piranha gun is the goal and will curb the difficulty slightly once you get it.
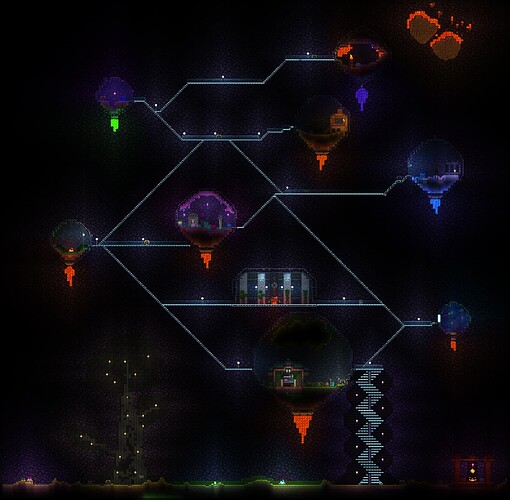
Lunar Mineshafts
Lunar Mineshafts
A simple, beginner map that is fun to play casually. However, if you plan to beat moon lord, this map contains viable weapons only for teams that manage to co-operate efficiently and effectively.
Classes
There are four classes on this map. Each represent a lunar pillar/material; Solar, Vortex, Stardust and Nebula. Each class has viable weapons all throughout rounds 1 - 20, although the final tier weapons can be quite expensive.
Solar
Where: Above the house in the “solar inferno”. Use the stairs on the right of the house to get to it, or use the trap door available in the house.
Starts with:
- Platinum Broadsword
Vortex
Where: In the “vortex cave” to the right of the main base/spawn area
Starts with:
- Wooden Bow
- 150 Wooden Arrows
Stardust
Where: On top of ladder vertically above the vortex cave (it’s in the dark, so try jumping around the area until you land on a platform)
Starts with:
- Explosive Trap Cane (defeat Old One’s Army in PvE to use this weapon)
- Leather Whip
Nebula
Where: In the purple cove to the right of the stardust ladder.
Starts with:
- Amethyst Staff
Where Are The Rest of The Chests?
There are a wide variety of chests in this map, and it’s easy to get lost where everything is. There are 5 weapon chests available for each class (3 weapon chests with 7 tiers, t2 weapon chests with 2 tiers). There are a total of 5 class unique accessory chests, and 3 universal accessory chests. There are 4 class unique ammo chests, and 2 universal ammo chests. There is an armor chest, health chest, mana chest, and a mount chest as well.
Weapon Chests
- Weapon chest 1 is located in the house
- Weapon chest 2 is located to the very left of the vortex cave’s mobspawn
- Weapon chest 3 is located to the very right of the nebula cove
- Weapon chest 4 is located at the top of the stardust ladder
- Weapon chest 5 is located at the top right of the nebula cove (it’s a little hard to notice it, and you’ll need a cloud in a bottle/telekinesis to access it)
Accessory Chests
- Class unique accessory chest 1 is located in the house (emblems for each class)
- Class unique accessory chest 2 is located in the small pool of water to the left of vortex cave
- Class unique accessory chest 3 is located to the immediate right of vortex cave’s entrance
- Class unique accessory chest 4 is located to the left of the first mobspawn you encounter when going to the far right side
- Class unique accessory chest 5 is located at the very far right of the map
- Universal accessory chest 1 is located in the pool of water below the house (contains Cloud In a Bottle)
- Universal accessory chest 2 is located in the pool of water below nebula cave (contains Ankh Shield)
- Universal accessory chest 3 is located on the right portion of nebula cove (contains Worm Scarf)
Ammo Chests
- Class unique ammo chest 1 is located in the solar inferno above the house
- Class unique ammo chest 2 is located under the base’s pavilion (the right most chest)
- Class unique ammo chest 3 is located in the vortex cave
- Class unique ammo chest 4 is located between the two mobspawns in the far right of the map
- Universal ammo chest 1 is located under the base’s pavilion (the left most chest, contains shine potions)
- Universal ammo chest 2 is located under the base’s pavilion (the middle chest, contains health potions)
Other Chests
- The health chest and mana chest is located on the base’s pavilion.
- The armor chest is located in the dark to the right of nebula cove
- The mount chest is located on the ceiling in the far right of the map (requires Cloud In a Bottle, and requires you to stand on a few crates to get it)
Bewitched
Bewitched
Class chest (name and spot)
2 chests at the spawn of Bewitched in the middle are the classes the left one is demon slayer and the right one is demon tamer
Weapons’ chest
The main weapon chest for all classes Is on the top left of the map. You also have 2 side weapon chest for later on in the game (located on the top middle and far right side of the map) the one weapon chest may seem not reachable but It is (you must get max tear armor in order to get)
Armor chest
Armor chest is located on the bottom left of the map
Buff/HP/Mana
You can find them in the middle of the map for HP and Mana while the buff chest in on the far upper right of the map
TIPS
(Work together, Don’t split up) demon slayer is the point farmer while demon tamer is the DPS, It is best for demon tamer to buy tier 1 in armor and then save up for breaker blade for easy boss kills and demon slayer to save up for the arkhalis (DO NOT PULL mobs with telekinesis or you will pull in every singing mob in the map DO NOT PUSH either as it pushed them into the pool of lava and you lose more points.) There are about 6 traps in this map must can be jumped over but none of them can perma kill you unless you fly into the spiked walls. I suggest you all stay together on the far left of the map as this makes the zombies confused on one block a good AFK spot would be the far top left by the armor chest.
LORE
You and a demon are fighting for your life as zombies somehow managed to make it down to hell as the demon slayer you miss understand that the demon tamer was once like you before he joined he forces of evil the both of you agree that once you get out of this hell house you would fight this out to see who is worthy enough to live
Glass Castle
Glass Castle
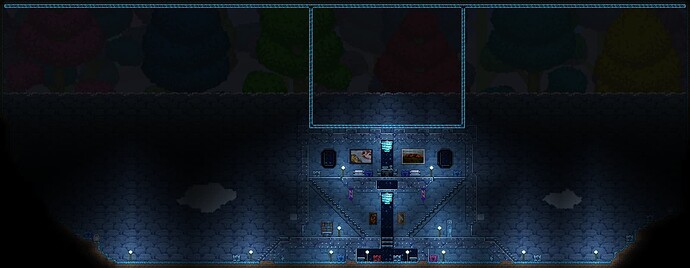
Smallish map, quite appropriate for beginners who are moving on with learning the gamemode and possessing some quite powerful weapons that are even stronger when equipped with the right gear, but you can fall off fast if you are careless or make a small mistake, just like glass; sharp but fragile. Ideal for sentry enthusiasts and good challenge for more experienced players that want to reach round 20.
Classes
There are only two classes on this map, being melee and ranged.
Glass Warrior
Where: The right dark blue chest from spawn point
Starts with: Lead Shortsword, Master Gamer’s Jacket, Master Gamer’s Pants
Glass Cannon
Where: The left dark blue chest from spawn point
Starts with: Lead Bow, Wooden Arrow (50), Flintlock Pistol, High Velocity Bullet (45), Empty Bucket
Map’s chests
- The 1st weapon chest is out of the castle’s left door
- The 2nd weapon chest is out of the castle’s right door
- The 3rd weapon chest is next to the HP chest at the castle’s “basement”
~~ - The 1st accessory chest is on the rightmost of the spawn point
- The 2nd accessory chest is on the left of the HP chest at the castle’s “basement”
- The 3rd accessory chest is on the mostleft of the map near a mob spawn
~~ - The 1st ammo chest is on the leftmost of the spawn point
- The 2nd ammo chest is the second rightmost chest of the map near a mob spawn
- The 3rd ammo chest is the first rightmost chest of the map near a mob spawn
~~ - The armor chest is on the right of the 3rd weapon chest at the castle’s “basement”
- The HP chest is at the castle’s “basement”
Snowyville
Snowyville
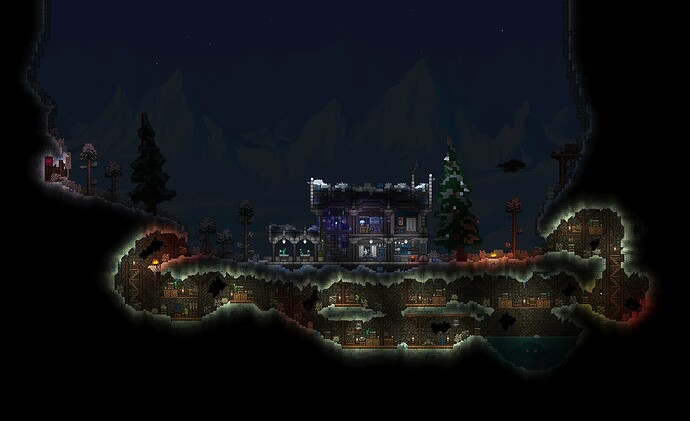
Snowyville is a beginner and fun map, you might have to cooperate together if you want to defeat Moon Lord, the easiest way is obtaining the Zenith/Lunar Flare, however these weapons are in a special chest where you have to activate 4 hidden switches over the map along with some parkour.
Classes
Warrior
Where: Next to spawnpoint.
Starts with: Spear, Snow armor.
Mage
Where: Next to spawnpoint, below Warrior chest.
Starts with: Sapphire Staff, Pink Snow armor.
Chests
Potion Chest: Located in kitchen
Weapon chest 1: Below dining room
Weapon chest 2: Underground
Weapon chest 3: On top of the cave entrance right side, activate all 4 hidden switches to make the cloud actuated so you can get there.
Accessory Chest 1: Left side surface, climb the ropes to get there, hidden in the blocks.
Accessory Chest 2: Underground.
Accessory Chest 3: Underground lake.
Accessory Chest 4: Underground
Accessory Chest 5: Cave entrance right side, hidden in the blocks.
Accessory Chest 6: On top of the house
Armor Chest: Left side surface
Mana and HP chests: Underground
Tips
I highly recomend farming points with Arkhalis/Vilethorn.
To facilitate the parkour in the tree, you can get a Frozen banana daiquiri in the Potion chest, which boosts your movement speed by 20%.
Barrage and Guardian ability don’t work that well in this map.
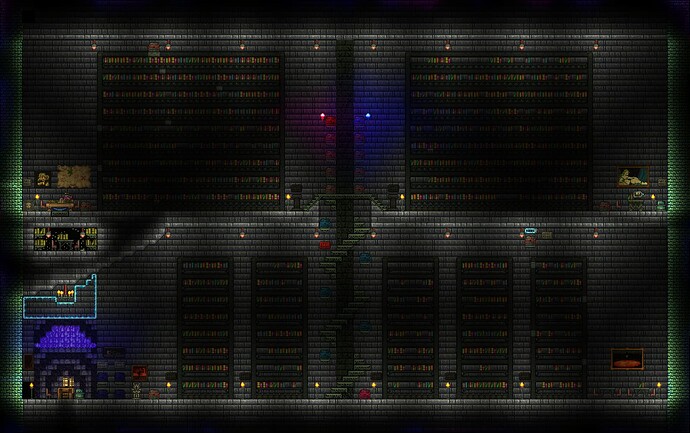
Mystic Library
Mystic Library
A big, spacious map, targetted for bigger and co-operative groups of players, containing a huge variety of options to choose from for successful mob fights. Studying the map and playing it plenty of times is required to learn all weapons, which are strong and weak, etc.
Classes
There are four classes, melee, ranged, mage and summoner. The four chests are placed together next to spawn.
Shenanigan
Where: Down left from the place
Starts with: Copper Shortsword
Dancing Fighter
Where: Down right from the place
Starts with: Copper Bow, Wooden Arrow (50)
Star Consumer
Where: Up left from the place
Starts with: Wand of Sparking
Celestial Runner
Where: Up right from the place
Starts with: Slime Staff, Leather Whip
Map’s chests
There are 8 weapon chests when you climb up the stairs divided in 4 rows (starting from bottom), each having 2
- The 1st weapon chest is on the left 1st row
- The 2nd weapon chest is on the right 1st row
- The 3rd weapon chest is on the left 2nd row
- The 4th weapon chest is on the right 2nd row
- The 5th weapon chest is on the left 3rd row
- The 6th weapon chest is on the right 3rd row
- The 7th weapon chest is on the left 4th row
- The 8th weapon chest is on the right 4th row
- The 9th weapon chest is on the small parkour in lower floor
- The 10th weapon chest is on the big parkour in upper floor
~~ - The 1st accessory chest is the 1st from below going upstairs
- The 2nd accessory chest is the 2nd from below going upstairs
- The 3rd accessory chest is the 3rd from below going upstairs
- The 4th accessory chest is the 4th from below going upstairs
- The 5th accessory chest is the 5th from below going upstairs
~~ - The 1st ammo chest is next to class chests
- The 2nd ammo chest is on the left on upper floor
- The 3rd ammo chest is on the right on upper floor
~~ - The HP chest is above the 7th weapon chest
- The mana chest is above the 8th weapon chest
Tutorial on how to parkour to the 10th weapon chest
https://cdn.discordapp.com/attachments/570322449619615774/774770595963338782/2020-11-07_17-27-14.mp4
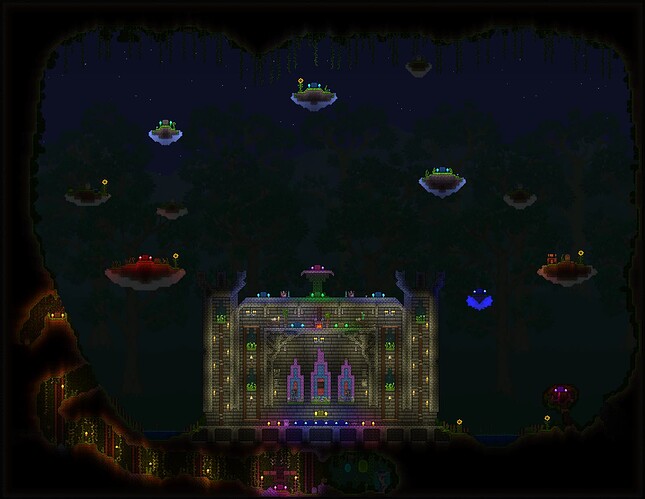
Cryptic Castle
Cryptic Castle
Cryptic Castle is a strategic medium(lies it’s the easiest) difficulty map with many mob spawns. It practically requires a team to survive. While it may seem like a map with normal items at first, it quickly transforms into a content filled challenge with lots of items, strategies, and lore. Fun fact : Only map with pogo stick. Definitely not called Cryptic Castle because the creator couldn’t edit it to say Cryptic Fort
Cryptic Castle Classes
Counted, there are four main classes, which are all of the normal Terraria classes (melee, ranged, summon, magic). There is also a class (yoyo) considered a sub-class because it branches off from warrior into a new class.
Kingly Warrior
Where : The leftmost blue chest in the fort.
Starts With :
- Wooden Sword
- Loki’s Helmet
- Jim’s Breastplate
- Jim’s Leggings
Royal Enchanter
Where : The second - to first blue chest in the fort upon entering.
Starts With :
- Wand of sparking
- Solar Cultist Hood
- Solar Cultist Robe
Gunning Soldier
Where : The blue chest in the middle of the fort.
Starts With :
- Pirate Shirt
- Pirate Hat
- Pirate Pants
- Musket Balls (100)
- Wooden Bow
- Wooden Arrows (130)
Caller of the Castle
Where : Second to last blue chest in the fort upon entering.
Starts With :
- Leather Whip
- Finch Staff
- Ancient Cultist Mask
- Lunar Cultist Robe
Mr. Yoyo Man Dude Thing Person Guy Sir
Where : Last blue chest in the fort upon entering.
Starts With : Wooden Yoyo
Cryptic Castle Chests
Weapon Chests (Orange Torched Chests)
- Weapon Chest One : Chest at the bottom left in the fort. Also the main chest for all classes.
- Weapon Chest Two : Chest at the bottom right in the fort. Also the tertiary chest for mage, ranger,
summoner, and yoyo, quaternary chest for warrior. - Weapon Chest Three : Chest in the pond to the right of the fort. Also the secondary chest for warrior, summoner, mage, and ranger, tertiary for yoyo.
- Weapon Chest Four : Chest in the mini cave above spawn cave. Also the quaternary chest for mage, ranger, summoner, and yoyo, tertiary for warrior.
Ammo Chests (Green Torched Chests)
- Ammo Chest One : Chest at the top of the fort.
- Ammo Chest Two : Chest at the top in the fort.
- Ammo Chest Three : Chest on the top left island.
Potion Chests (Yellow Torched Chests)
- Potion Chest One : Chest in the fort. Also the only potion chest for all classes (except if you count some ammo chests).
Accessory Chests (Cyan Torched Chests)
- Accessory Chest One : Chest at the top in the fort.
- Accessory Chest Two : Chest at the left top of the fort.
- Accessory Chest Three : Chest at the right top of the fort.
- Accessory Chest Four : Chest on the island at the right top of the fort. Also gives Ankh Shield for all classes.
- Accessory Chest Five : Chest at the very top from the middle of the map. Also gives Celestial Shell for all classes.
Armor Chests (Pink Torched Chests)
- Armor Chest One : At player spawn. Only armor chest for all classes.
Life & Mana Chests (Red or Blue Torched Chests)
- Life & Mana Chest One : At the island to the left bottom compared to the other islands. Only life chest for all classes.
- Life & Mana Chest Two : At the island to the right bottom compared to the other islands. Only mana chest for all classes.
Miscellanious Chests (Purple Torched Chests)
- Miscellanious Chest One : Chest at the very top of fort. Also the wing chest for all classes.
- Miscellanious Chest Two : Chest in the tree. Also the hook & mount chest for all classes.
Golf Chests (No Torch Chests)
- Golf Chest One : I forgot where this is
Events
Also take note of Cryptic’s different events, which take up 5/12 of the months. They are Valentine’s, April Fools, Easter, Halloween, Thanksgiving, Christmas, and Xmas.
Tips For Success
- An experienced team is key. If you have players that can follow a plan, this map becomes more easy and fun.
- Mounts or grappling hooks can really help in clutch situations.
- Low use time low damage weapons are key to getting the 1000 damage weapons.
- Killing mobs that block paths (like diabolists or sand elementals) can allow for an easier and better game.
- Cryptic’s wiring system is the most important mechanic. There are three switches (two in ponds and one in the main room of the castle) that trigger different music. When all of them are activated, it reveals a secret.
Miner’s Duplicity
Miner's Duplicity
Did you enjoy your games at Miner’s Deceit? No? Bummer. If you did, this map is a second version of that map! It has more space, more items and carts.
Classes
The 2 classes of the map focus on pickaxes and drills. Both class chests are right next to spawn.
Old-Fashioned Digger
Starts with: Gold Pickaxe, main weapon chest continues with pickaxes
Mechanical Miner
Starts with: Platinum Pickaxe, main weapon chest continues with drills
Map’s chests
The weapon chests are also near to spawn with the class chests. A bit on the left is the HP chest.
On the bottom and top are 2 accessory chests each, 4 in total, upper floor also having an ammo chest.
Near the top left corner you can find the armor chest.
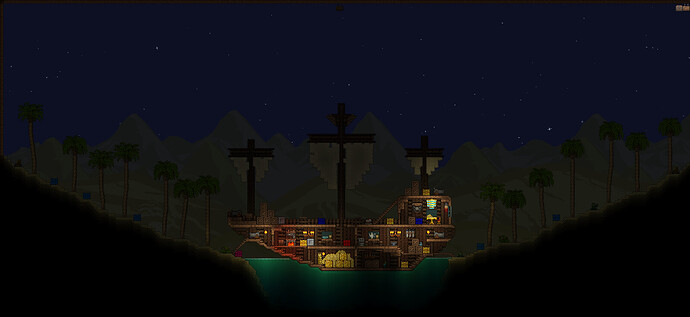
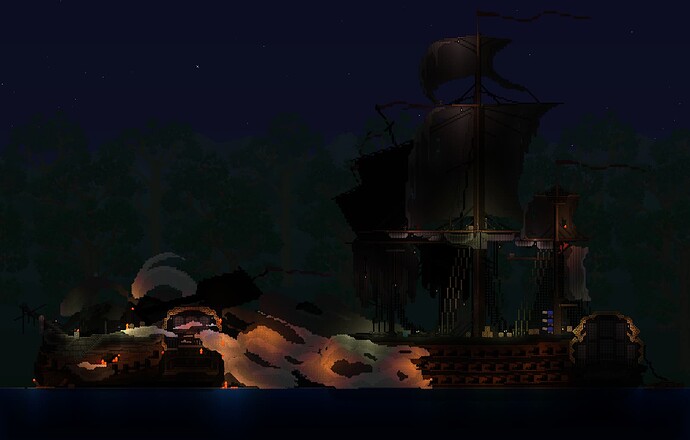
Pirate Harbour
Pirate Harbour
Yaaargh, mateys! Are ye ready to set sail on thee pirate themed map? Ahoy! Get on board.
Classes
Rules be simple mate, yer either the swashbuckler or the captain, swords or guns.
Crewmate
Where: Right next to spawn
Starts with: Gold Broadsword and Buccaneer vanity
Captain
Where: On yer right into tha captain’s room
Starts with: Cutlass, Flintlock Pistol, High Velocity Bullets, Pirate vanity, Parrot Cracker
Map’s chests
- Thee first weapon chest is above tha captain’s room
- Thee second weapon chest is next to da fireplace
- Thee third weapon chest be at the bottom of the sea, yer gonna walk the plank towards it
~ - Thee first and second accessory chests are on yer right of the ship by order
- Thee third, fourth and fifth accessory chests are on yer left of the ship by order
~ - Thee first ammo chest is right outside of thee captain’s room
- Thee second ammo chest is on the back entrance of the ship, at yer right
- Thee third ammo chest is outside the restroom
~ - Thee HP chest is next to the bottom of the chain we climb
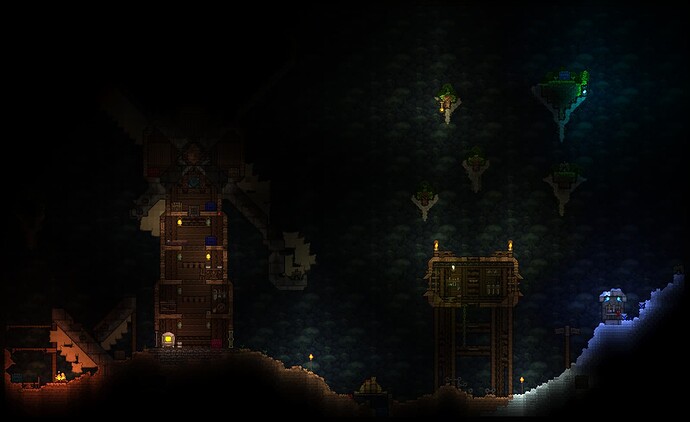
Distant Windmill
Distant Windmill
Classes
Knight
Where: Near the top of the windmill
Starts with: Platinum Broadsword, Jim’s set (vanity)
Type: Melee
Bounty Hunter
Where: Near the top of the windmill
Starts with: Tin Bow, Wooden Arrows, Gravedigger Coat (vanity)
Type: Ranged/Ranger
Map Chests
- Both class chests are in the windmill.
- The Health and 2nd weapon chests are in the windmill’s attic.
- All the accessory chests are outside, two to the left and two to the right of the windmill.
- The ammo chest, which contains ammo for Bounty Hunter and potions for Knight, is underneath the hay to the right of the windmill.
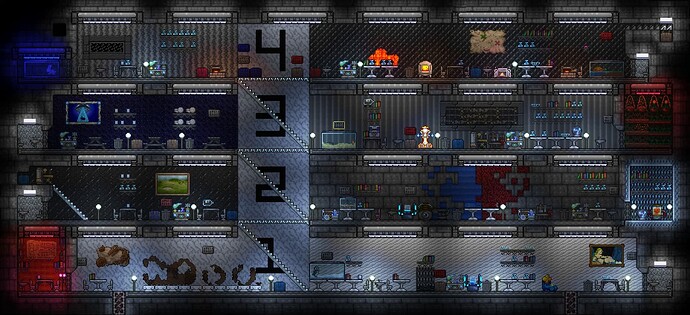
Laboratory of Madness
Laboratory of Madness
As the name implies, only madness awaits you there… No sane person will make it through there, so either forfeit or get prepared to the maximum…
A lab themed map where (almost) all weapons in it are modded to fire several projectiles that normally don’t, with a bunch of a surprises as well.
Classes
The classes are melee and mage
Test Subject: MLE-K3
Where: Right next to spawn
Starts with: Copper Shortsword, Fez, Lizard Egg, Lizard Tail, Apprentice’s Scarf
Test Subject: MGE-L7
Where: Right next to spawn
Starts with: Wand of Sparking, Martian Torso and Pants, Star Hairpin, Cosmic Skateboard
Map’s chests
- The 1st weapon chest is right next to the class and HP chest at spawn
- The 2nd weapon chest is on the right of the 3rd floor
- The 3rd weapon chest is on the right of the 1st floor
- The 4th weapon chest is on the right of the 4th floor, reachable only if you have another player to help you get to it by stepping on a switch
~~ - The 1st accessory chest is on the right of the 4th floor
- The 2nd accessory chest is on the right of the 3rd
- The 3rd accessory chest is on the far left of the 2nd floor on some small stairs
- The 4th accessory chest is on the left of the 2nd floor
- The 5th accessory chest is at the bottom of the staircase at the 1st floor
~~ - The 1st ammo chest is on the left of the 3rd floor
- The 2nd ammo chest is right next to it on the left
- The secret ammo chest is somewhere that I won’t reveal or else it wouldn’t be secret, L
~~ - The HP chest is right next to spawn
- The mana chest is on the left of the 2nd floor, next to the 4th accessory chest
Important note
In order to be well prepared and knowledgeable for this map, I advise you to take a look at this post which lists all modified projectiles.
Shadow’s Realm of Death
Shadow's Realm of Death
Another remake of an old map, Shadow’s Descent, this map has to offer nearly the same difficulty, but a bigger variety of items and choices.
Classes
Spiritualist
Where: Right below spawn
Starts with: Sapphire Staff, Mining Helmet, Ultrabright Torch
Shadow-weaver
Where: Right below spawn
Starts with: Ebonwood Sword and armor
Shadow Crusader
Where: Right below spawn
Starts with: Paladin’s Shield, Lead Shortsword
Map’s chests
- The 1st weapon chest is near down left from spawn
- The 2nd weapon chest is near down right from spawn
- The 3rd weapon chest is high up left
~~ - The 1st and 2nd accessory chests are on each staircases from both edges
- The 3rd and 4th accessory chests are in each small secret rooms on both edges up
~~ - The 1st ammo chest is on the right of the 2nd weapon chest
- The 2nd ammo chest is right below spawn
~~ - The armor chest is on the left of the 1st weapon chest
- The HP and mana chests are below the 1st and 2nd weapon chests each
Unholy Affliction
Unholy Affliction
A fairly easy map with few obstacles.
Classes
Pure Soul
Where: Right next to spawn
Starts with: Wand of Sparking
Nephilim
Where: Right next to spawn
Starts with: Tin Shortsword
Eater of Souls
Where: In a hidden area in the corrupt part of the map.
Starts with: Ball 'O Hurt, Wooden Arrows and Musket Balls
How to acquire Eater of Souls class
In order to get the Eater of Souls class (aka ranged), one should press a well-hidden switch located right under small pond, which is to the right of the spawn.
First, you should position yourself and aim your cursor just how it is shown in the screenshot below:
https://media.discordapp.net/attachments/664781908202225664/902581257664331856/unknown.png
After pressing the switch once, a hole, which is left of the house, should now be accessible. All you have to do now is fall into the hole and choose the class. Enjoy ranged combat!
Map’s chests
-
The 1st weapon chest is to the right of spawn outside the house.
-
The 2nd weapon chest is to the left of spawn
-
The 3rd weapon chest is to the right of spawn in the water
~~ -
The 1st acessory chest is on top of the house above spawn.
-
The 2nd accessory chest is on top of the cave on the right side of the map.
~~ -
The ammo chest is inside the house.
~~
-
The armor chest is on top of the house above the ammo chest
Bio Clusters
Bio Clusters
A map with mediocre difficulty, the main challenges are the verticality of the map with no protection against fall damage and a decent amount of enemy spawns.
Classes
Overseer
Where: Right next to spawn
Starts with: Lead Bow and Wooden Arrows
Conservator
Where: Right next to spawn
Starts with: Copper Shortsword
Botanist
Where: At the end of the echo block parkour in the upper left
Starts with: Amethyst Staff
Map’s chests
-
The 1st weapon chest is inside the desert globe to the right above spawn.
-
The 2nd weapon chest is inside the jungle globe below spawn.
-
The 3rd weapon chest is to left below spawn on the ground.
-
The 4th weapon chest is inside the ocean globe to the right below spawn.
~~ -
The 1st acessory chest is inside the hell biome globe.
-
The 2nd accessory chest is inside the corrupt biome globe.
-
The 3rd accessory chest is inside the ice biome globe.
~~ -
The 1st ammo chest is to the right of spawn to the left of the temple.
-
The 2nd ammo chest is on a platform to the left of the ice biome globe above spawn.
~~
-
The armor chest is in the hallowed globe.
~~
-
The hp chest is inside the temple on the ground.
-
The mana chest is to the right of the hp chest on the ground.
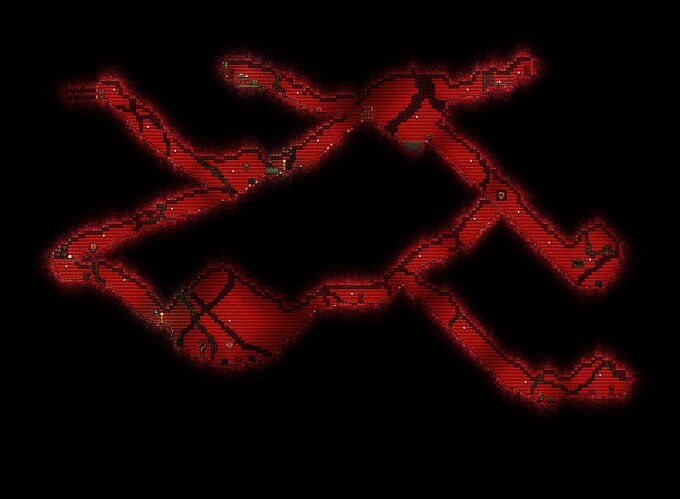
Crimson Veins
Crimson Veins
A map intended to be very difficult and gory, the main dangers consist of low defense (and hp) and the special enemies that were chosen for this map.
Classes
Folly
Where: Right next to spawn
Starts with: Tin Shortsword
Perforator
Where: Right next to spawn
Starts with: Spear
Infected
Where: In a hidden area at the top left of the map.
Starts with: Wooden Sword
Map’s chests
-
The 1st weapon chest is next to the armor chest in the right corner below spawn.
-
The 2nd weapon chest is in a tunnel above spawn.
~~
-
The 1st acessory chest is in a tunnel above spawn.
-
The 2nd accessory chest is on the right side of spawn in a cave.
~~ -
The ammo chest is next to a puddle of water.
~~
-
The armor chest is in the right corner below spawn.
Topaz Mall
Chaidou Woods
Wrong Dimension
Hell storage
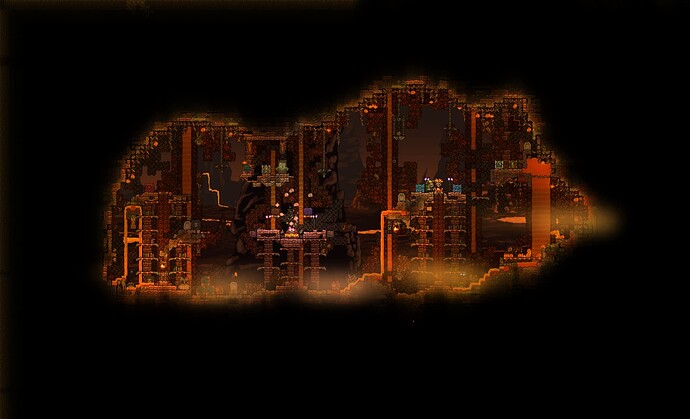
Fiery Crags
Beach House v2
Still gathering information
Gun Caverns
The Beast
Magmatic Depths
Ruina
Still gathering information
Inferno Battlefield
Infinity Fortress
Forgotten Tomb
Untimely Exploration
Evergrowth
The Duality
The Fall of Mystic Library
The Battle of Trafalgar
Groesten Haus
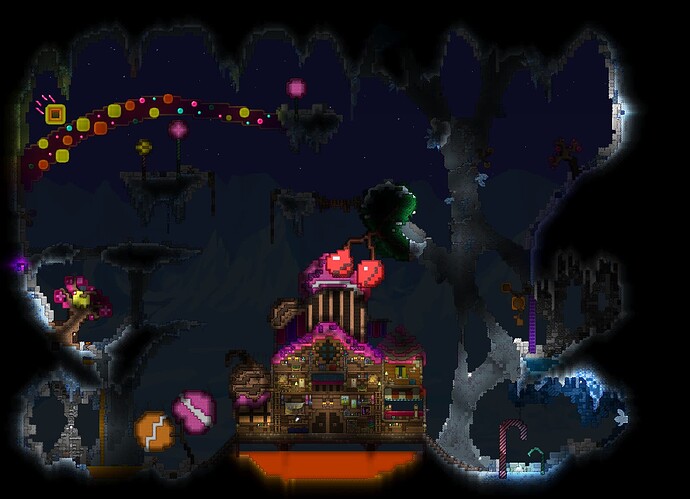
Candyland
Delivery
Demonic Golf Club
Fungal Fields
Normal Day
References
This guide is based on https://docs.google.com/document/d/1ZtUovDxGNotKTTyFrieAE5ejXOsd5VplwDd6yciFo_c
Archive
Abandoned Aqueduct
Under revamp
Abandoned Aqueduct
Past Maps
Winter’s Howl
This map is a non-challenge gimmick map. The gimmick of this map is in the class design, both classes are suppose to be two halves.
Classes
Knight
Where: next to spawn
Starts with:
- Modified Brand of Inferno
- low damage
This class is the health/tank of the duo. It has low damage but has upgrades and accessories for survivability.
Faith
Where: right-side lava pit
Starts with:
- Modified Meteor Staff
- Projectiles are magic projectiles instead of meteors
This class is the damage/glass cannon of the duo. It has high damage but low survivability.
Tip: Increase your vertical mobility by getting multiple Frog Legs
Snow Ruins
Snow Ruins is a semi - easy map based on a few Danish warriors arriving on unknown land. Unable to sail back to their homeland in the dead of night, they are forced to take shelter in Snow Ruins. Little do they know just how much is hidden inside the caves and the tower.
Snow Ruins Classes
There are two classes, one ninja and one mage. They are both about snow and frost, only shooting blue or white projectiles. Ninja has both throwing and melee weapons, and each is worth it.
Snow Spirit
Where : The right blue chest on the ship.
Starts With :
- Wooden Sword
- Loki’s Helmet
- Jim’s Breastplate
- Jim’s Leggings
Ninja of Frost
Where : The left blue chest on the ship.
Starts With :
- Wand of sparking
- Solar Cultist Hood
- Solar Cultist Robe
Snow Ruins Chests
Weapon Chests
- Weapon Chest One: Chest located in the middle of the tower.
- Weapon Chest Two: Chest located at the top left of the tower.
- Weapon Chest Three: Chest at the top right - middle part of the tower.
Ammo Chests
- Ammo Chest One: Chest below the bridge at the right of the ship.
Potion Chests
- Potion Chest One: Chest right of the ship on the bridge.
Accessory Chests
- Accessory Chest One: Chest at the very top right of the tower.
- Accessory Chest Two: Chest at the top left of the caves.
- Accessory Chest Three: Chest below the small house at the bottom right of the caves.
Armor Chests
- Armor Chest One: At the left of the middle of the caves.
Life & Mana Chests
- Life Chest: Above the Armor Chest. (See Above)
- Mana Chest: Slightly to the right of the middle of the caves.
Tips For Success
-
Remember, this is designed like a siege. There are double the amount of mobs as in normal lobbies, and 3 mistakes can mean the game for you.
-
There are two main types of weapons: Piercing Low Damage and One Target High Damage. A combination of the two leads to the best success.
-
Have a team of three or more. You’ll need a lot of power to get through this, and you will die a lot.
Little Big Garden
This continues at Zombies Maps Overview 2 due to performance reasons.
