This post is a wiki, please correct or add on content.
Updated: Feb 10, 2026
A branch from
Extra information in
Controls
Type in chat: /ability sentry to equip the ability
Using your movement buttons- “w” and “s” on keyboard, or swiping the joystick up or down on mobile:
- up up: Upgrade a sentry
- up down: Switch sentry type
- down up: Pick up a sentry
- down down: Place down a new or picked up sentry
The Sentries
Sentries
Minigun
![]()
The default sentry placed, uses a minishark with different ammo types. Contrary to some thoughts, the minigun actually does the most damage at high tiers, greater than a sniper.
| Tier | Use |
|---|---|
| T3 | Farming |
| T11+ | Damage |
| ~T100 | Deal with 1 paladin spawn |
Tank
![]()
High defense, low damage, the Tank uses a shortsword/gladius, and attracts aggro easily.
| Tier | Use |
|---|---|
| T1 | Farming |
| T6 | r7+ |
| T12 | r12+ |
Sniper
![]()
Excellent for doing high damage, the Snipe takes care of flying enemies easily, and can deal with later rounds with luminite bullets.
| Tier | Use |
|---|---|
| T5 | Flying Enemies |
| T11+ | Damage |
| T15+ | Max Attack Speed |
Nade
![]()
While most think the Tank and Minigun are the best farming sentries, the Nade is actually the best, as it does splash damage, unlike the Minigun, and doesn’t need to be upgraded, like the Tank. With the caveat that it’s quite slow.
| Tier | Use |
|---|---|
| T1 | Farming |
Repair
![]()
Used to heal Sniper, Bank, Emitter, Nade, or Minigun sentries. In practicality, only the Bank, Nade, and Minigun benefit from this, since most other sentries will die in one hit during r10+.
Emitter
![]()
Inflicts ichor and confuses enemies. Generally not used, as unpredictability from several players around and the confused debuff causes chaos, which tends to lead to other sentries dying. Only use this if people are gathered near all the sentries, so that zombies will move away from the group.
Bank
![]()
Essential for all sentry users. Instead of upgrading the Bank, score is deposited, with a minimum of 1000. Every round, 30% of score in the Tank is given to the player, and 100% is given when the Bank dies. The Bank can earn money from other sentries, reducing the amount of money earned by the player and basically auto depositing money.
Placement Strategies
An essential part of all strategies is a good method to take aggro. Using a Tank is best, as they have plenty of hp, defense, and are built to take aggro. By putting the Tank out of reach, the zombies will remain under the Tank for a bit, which can be refreshed by dealing damage to them.
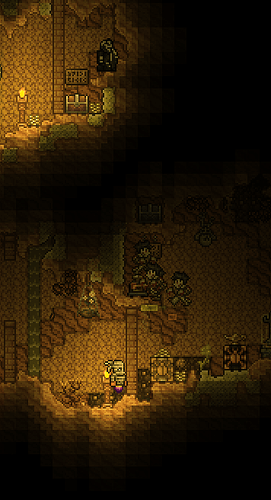
Example:
From here, basically all other sentries can be placed, so long as they are away from the zombies and do not take aggro(the Minigun has flesh knuckles).
Tank farming positions
Door Tank(questionable ethics, but works)
By standing next to a door, you can heal a Tank periodically. Be careful however, as armed zombies can hit through the door, as well as captains, milkyway weavers, diabolists, paladins, and moon lord.
Platform Tank
Although harder to pull off, and a much harder to find on maps, standing/hanging 1 block below the Tank lets you heal it while still staying out of reach of normal enemies. Stay wary of armed zombies, any ranged enemy and any flying enemies, as these will often hit you.
Raised Tank
Putting a Tank 3 or 4 blocks above, on top of platforms or crates, can let the Tank attack and maintain aggro. The Tank will still take damage from ranged and flying enemies, so it’s recommended to take those out manually.
Rounds
As you progress through the rounds, strategies will change due to new enemies.
Rounds
Round 1
Round 1 is simple, you can either place down the Tank in a spot, or place it near a spawn so it can get points until it dies. Because your first sentry is free, and your first weapon usually does more than 1 damage, you will generally be getting more points than normal.
Round 3
On round 3, there will be enough zombies for you to need to heal, or upgrade, your tank. Either that, or put in support with a Nade or Minigun. Around this round is when you should put down a Bank.
Round 5
This is a boss round, and you can easily prepare for it by creating a t3 Snipe and picking it up. When the boss arrives, kill it and pick up the Snipe again. Now move the Snipe to a point where it won’t interfere with the farm but still reach flying enemies.
Round 6
Hoplites, wandering eyes, and slimers will start spawning. Make sure the hoplite javelins do not hit your other, more vulnerable sentries. If the Snipe is unable to keep up with the amount of flying enemies, place another or upgrade the current snipe. Hoplites can be solved by placing a Nade or Minigun behind the group, as the hoplites will not throw javelins if they are being damaged. You may need to upgrade your Tank here if it is taking damage.
Round 7
This is one of the best rounds to farm for points, as spore zombies spawn, which have much more hp than the previous zombies. If you are using a door tank, upgrade your Tank to t5 or t6, for the berserker glove/hero shield.
Round 8
Gastropods will replace the slimers, so you should make sure nothing is within a straight line of the Tank and slimer. Either that, or upgrade your Snipe to t6/t7.
Round 10
Possessed armor now spawn, so even more points for you! Just make sure to upgrade the Tank to t9 if it’s taking damage.
Round 11
Snipers are out now, as well as martians. The Tank will take heavy damage and will occasionally require you to kill the mobs early to heal it. At the end of this round, you should have at least a t10 tank.
Round 12
Farming is almost out of the question here, unless you can kill the pirate captains and sand elementals without killing the zombies.
Round 13
Watch out for the boss(Goblin sorcerer/Paladin), as it may hit your other sentries.
Round 14
Skeleton commandos replace pirate captains and necromancers sand elementals. It’s easy to kill the skeleton commandos and continue to farm.
Round 15
Watch out for the evolution beasts, their projectiles can wipe out your Bank before you get the round bonus. If you’re Bank does not have 3 million or more, you must kill it quickly into r16, as your Tanks will NEED to be t12 or higher(solar armor).
Round 16
From here on, farming is basically impossible. Focus on keeping Tanks healed, your Bank filled, etc. I recommend picking up the Bank after depositing and putting it down before the round ends. If you have any other sentries higher than t6 or so, pick them up too.
Round 20
Use a Tank to take aggro of moon lord. If you have multiple t12+ Tanks, you can swap them out by placing one, and picking the other up. This will place a healed tank. If you only have one tank, make sure it’s high enough level(around t15). If it still appears to be dying, buying hp and swapping out the Tank for yourself may work.
Round 21+
While T15 Snipers are good for maximum atk speed, higher tier Minigun should be your focus now. Minigun get their dmg upgraded at a quadratic rate, and do far more damage than snipers at higher tiers. Plus, they have hp that actually scales.
Score management
In a multiplayer lobby, your score is split between several people. Utilizing /ts “name” “amount” (You can use percents too) can help greatly. By transferring score to someone with a Bank, the banker can collect round interest and distribute it. When playing solo, there is little to do except depositing a majority of your score into the bank. After some testing in solo lobbies, I’ve concluded that 2 banks is the most efficient for gathering score.
Although the sentry ability is powerful, there comes a 1.75x cost increase. In case of sudden breaches in your line of sentries(ie someone took aggro, Tank died, etc), you should actively be purchasing a decent weapon that can hold off the enemies. You should also buy hp/armor, in case you need to dive into a horde of enemies to upgrade the Tank or pickup other sentries getting hurt.
There is also a strategy in putting down sentries to optimize costs. The order goes as follows, with each sentry in the bullet points being interchangeable:
- Minigun, Snipe, Tank
- Repair, Nade
- Bank (for extra profit, omit the repair, nade, and snipe, and place a bank early)
- Emitter
Examples
Examples
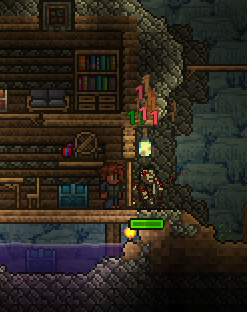
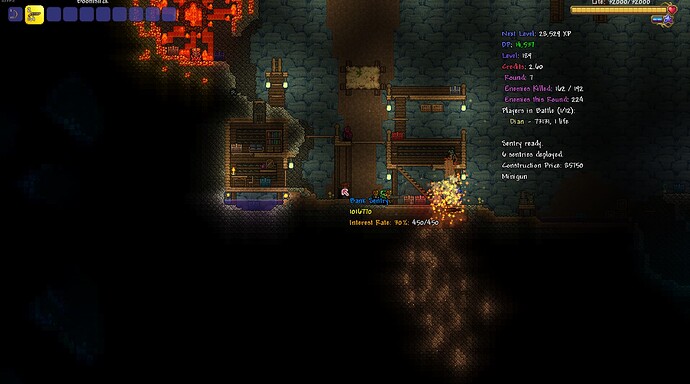
Mid-game setup:
Explanation: The Tank (t8) takes aggro, Nades (t1) and Minigun (t3) farm for points, Bank stores points, and Snipe (t5) deals with flying enemies(some regular zombies are lost due to the range of the Snipe).
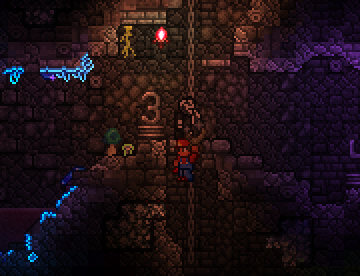
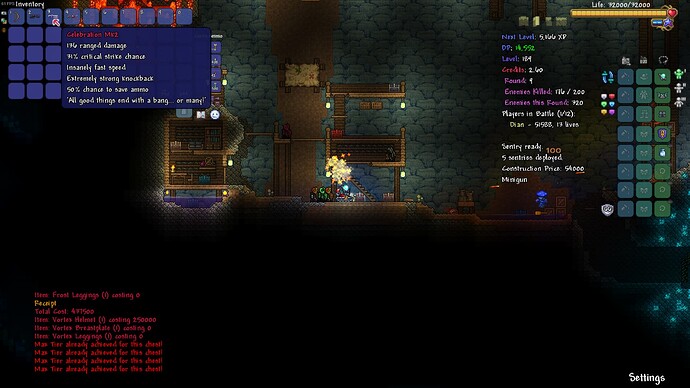
Example of the power of sentries:
round 9, but Max gear acquired(excluding accessories because I wanted to see what the flamethrower chest gave lol)
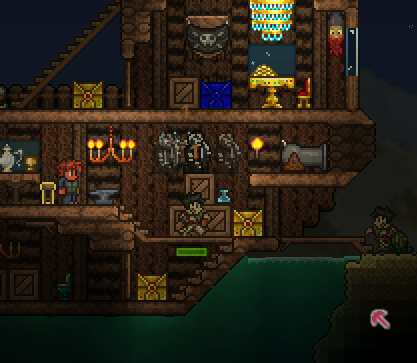
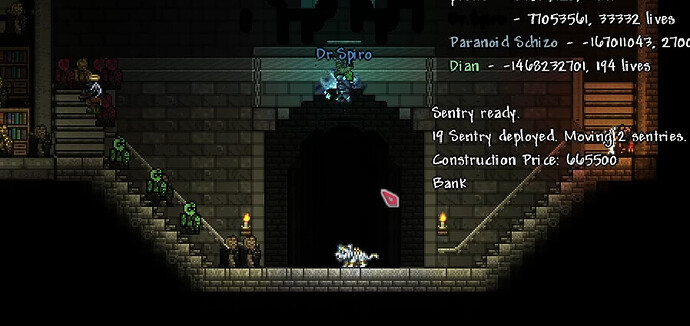
(very) Late Game setup:
Explanation: Tank (t19) pulls paladins, diabolists, and milkyway weavers towards it, while the Snipes (t15+) and Miniguns (t11+) kill them before they reach the Tank.
Refer to here: Sentries with graph displays | Desmos or Sentries Stats for stats per tier.
