-
Download the latest version of TShock from Releases · Pryaxis/TShock · GitHub
-
Locate the ZIP folder in your files. It will look something like this.

-
Open it. It will look something like this.
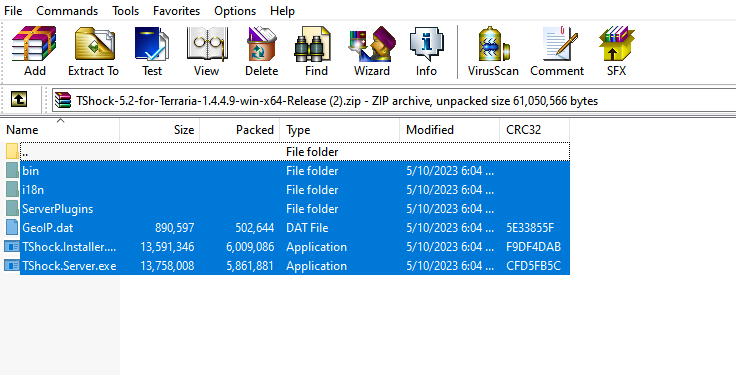
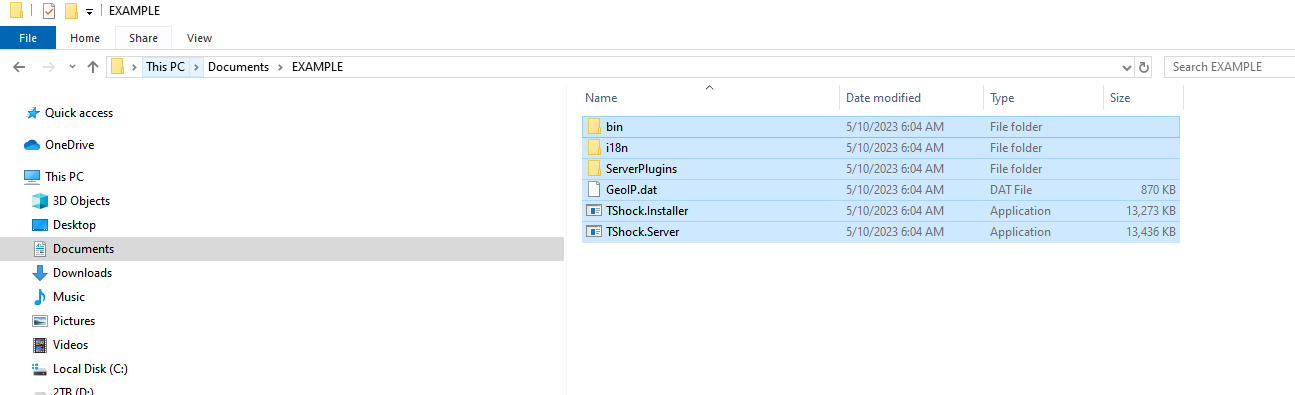
- Copy the files/folders shown above and paste them elsewhere, as follows;
-
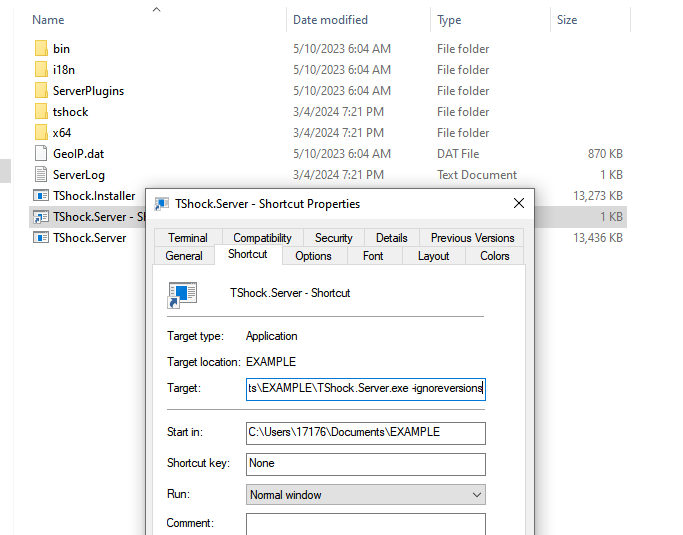
Create a shortcut of “TShock.Server” by right clicking on it and selecting “Create shortcut”. You will use this shortcut whenever launching the server in the future.
-
Right click on the shortcut you created, and select “Properties”.
-
Go to the end of the target line and add “-ignoreversions” as follows;
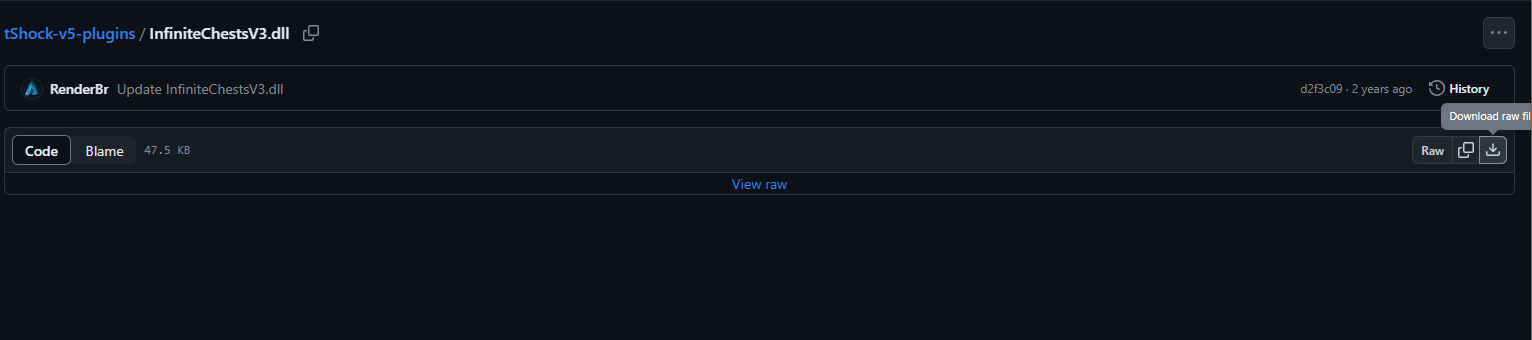
- Go to GitHub - RenderBr/tShock-v5-plugins: plugins working for tShock v5 and scroll down until you find “InfiniteChestsV3.dll”. Click on it and download it.
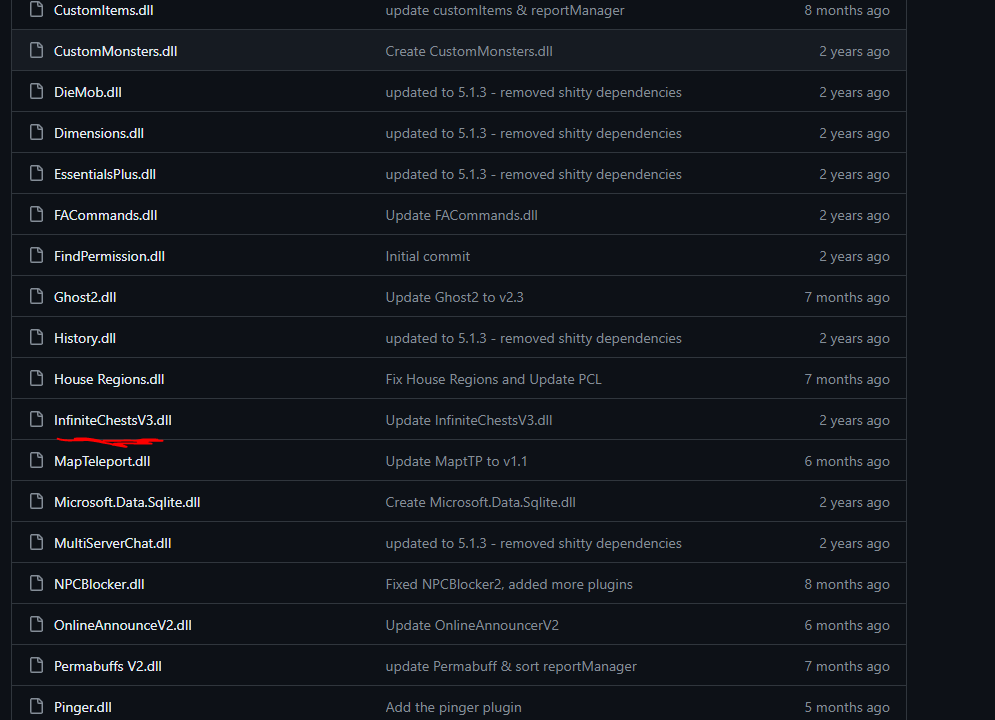
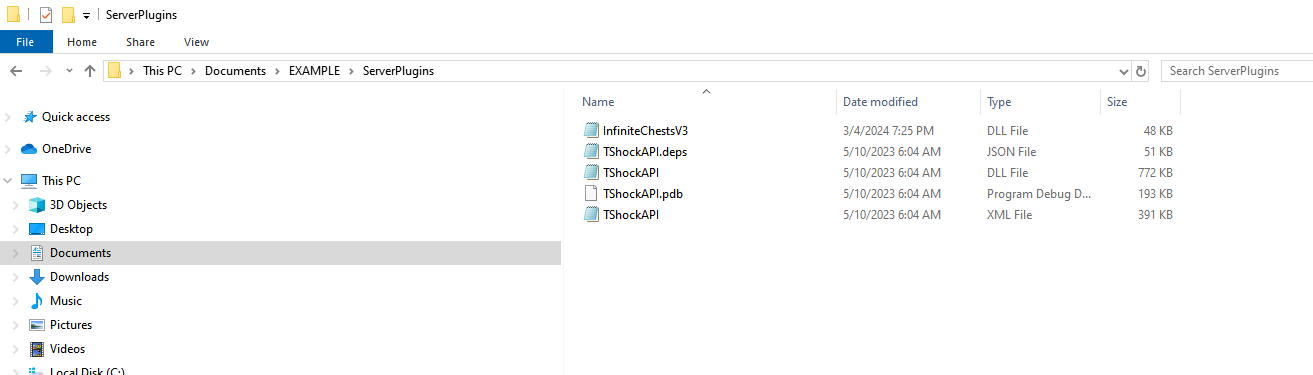
- Locate the .dll file in your files, copy it, and paste it in the “serverplugins” folder you copied in step 4.
- Run the “TShock.Server” shortcut you created in step 5. That will open a console that looks like this;
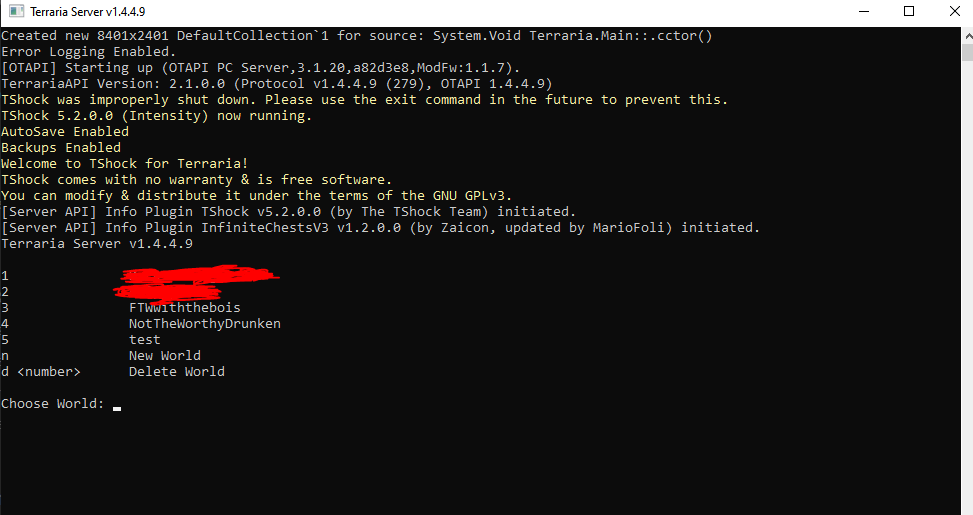
10.1. If you’ve followed the steps correctly thusfar, you will see under the yellow text that the plugin “InfiniteChestsV3” has been successfully initiated.
-
Create a new world or load an already existing one. To create a new one, type “n” and follow the prompts. To select a pre-existing world, type the number located on the same line as the world name. If you create a new world, you will need to wait until it is finished generating and select it the same way you would an already existing world.
-
After choosing the wanted world, it will load. Once completed, the console will now look like this;

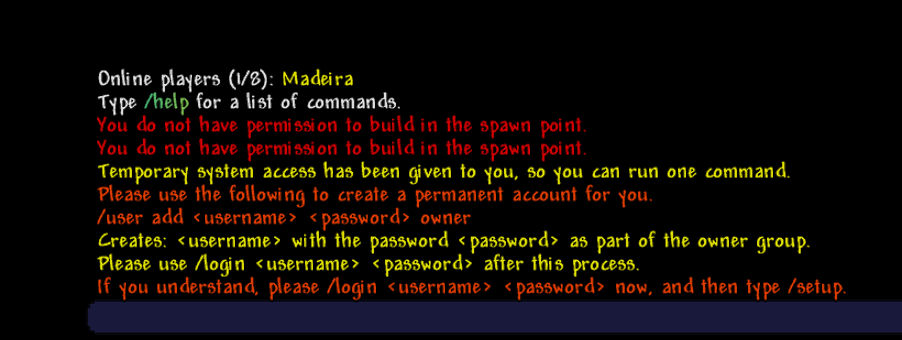
13.Take note of the underlined line. Upon completing step 13 and joining the server, you will need to type /setup <provided numbers" in the in-game chat in order to set your account up.*
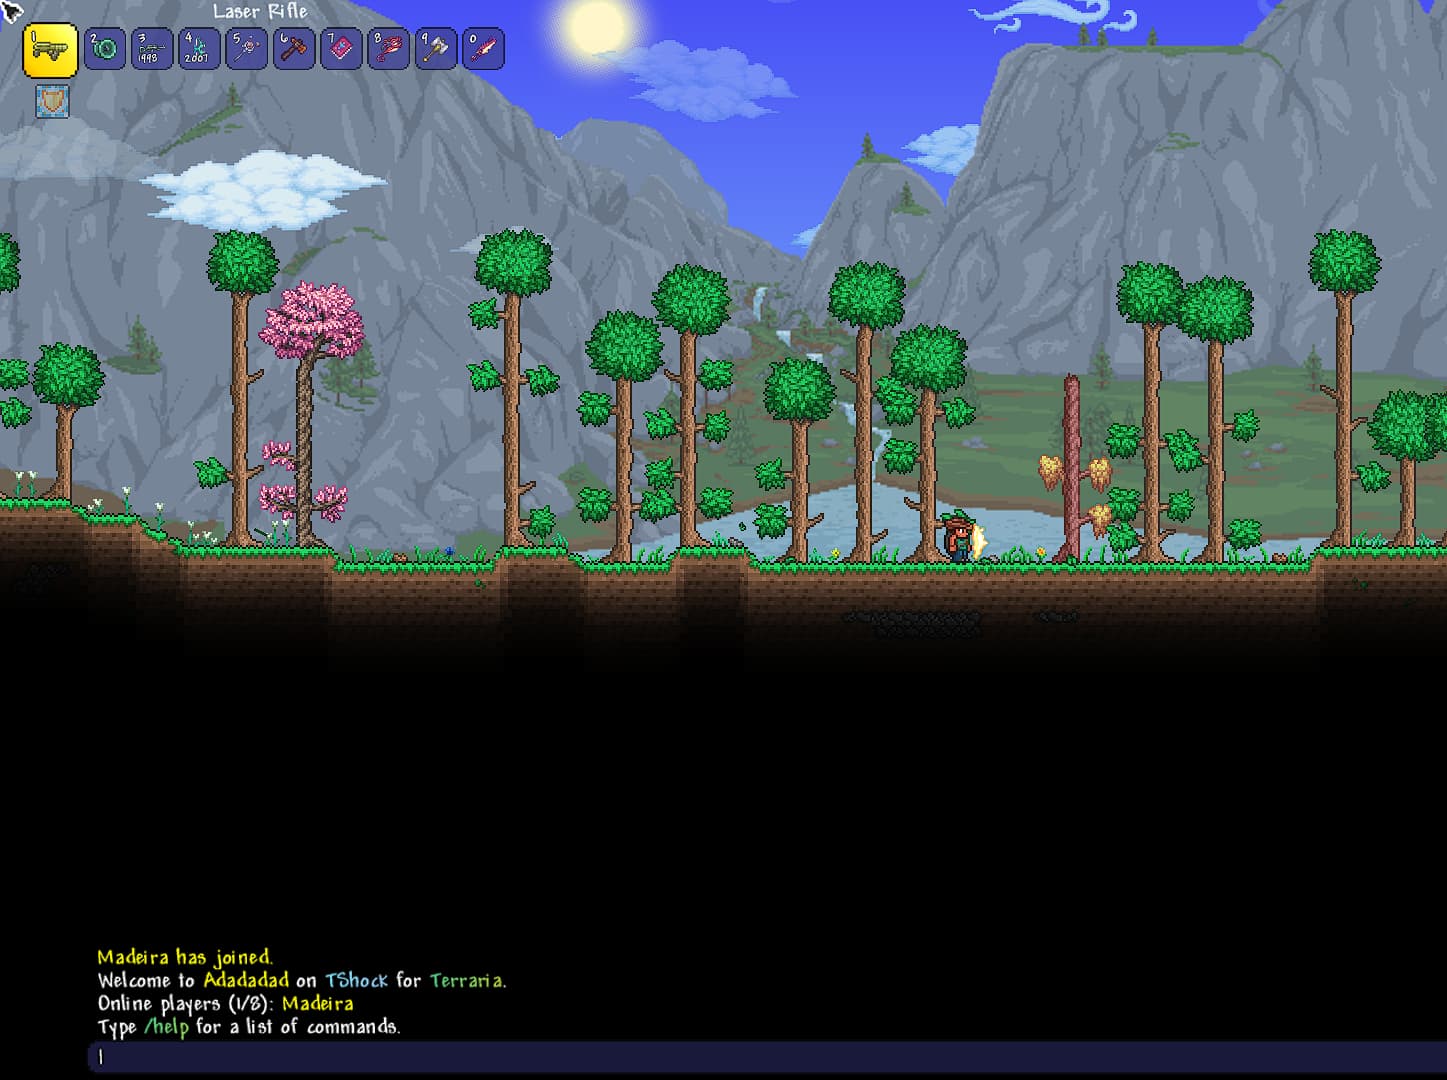
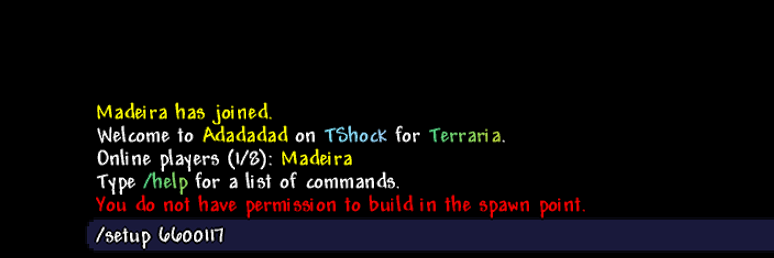
- Open Terraria, go to multiplayer, and select host & play. Once you reach your worlds, select the same one you selected in the console. Otherwise, it will not find the server. Tweak settings as liked. When you reach the select/enter a password screen, click “Accept”. No password has been set yet. The server will look like this;
- Setup your account using the setup command & numbers mentioned in step 12. Follow the chat prompt given after entering the setup command & numbers to create and login to your account.
-
Upon logging into your account, type
/group addperm owner *. This will give you access to all permissions/commands.

-
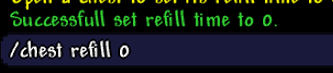
Place/find the desired chest you wish to auto-refill. Then, you will type
/chest refill 0into the chat and open said chest. This will make this chest auto-refill its contents upon closing and re-opening it. Keep in mind that this will NOT create stacks of 999; You will have to add quantities manually via the/icommand
-
Enjoy. I tried making this as comprehensible as possible, but there are still a lot of steps to take note of and follow.